Anyone who has ever contemplated constructing their own outdoor kitchen knows there is a long list of ingredients to consider. But while it's easy to get caught up in the fun decisions like grill size, bun warmers, and beer taps, there's a fundamental issue that has to be dealt with first: How will you build the darn thing??
That tricked-out BBQ island may look sexy in your grill-master fantasies, but go beyond the stacked-stone you saw on TV or the awesome slate tile that your brother-in-law can get for you on the cheap. The island that you and your cookout guests will actually see, lean against, and sit around as you sear those T-bones has to be constructed on top of a framing skeleton that, while isn't terribly exciting, is absolutely critical to the outdoor kitchen-building process.
For framing a BBQ island, it really comes down to two choices: concrete block or steel studs. You'll notice that I didn't include lumber studs as an option. That's because it shouldn't even be considered for an outdoor kitchen. You would be surprised, though, at how many people- DIYers and professional contractors alike- have framed out a grilling station using regular old studs from the lumberyard down the street. Don't see an issue here? Quick science lesson: wood starts to dry out and break down when exposed to temperatures of about 390 degrees in a reaction called pyrolysis. At temps from 390 to 530, wood starts to break down like charcoal, even though there won't be a flame. Actual ignition can take place at just 530 degrees. I don't know about you, but I've seen my grill thermometer's needle pegged at 600 on more than one occasion. The only lumber around a BBQ island should be the Louisville Slugger that you take to the noggin of anyone who tries to build one out of 2x4s.
So it comes down to concrete blocks or steel studs. Either is acceptable. Each has its fans and each has some pros and cons to keep in mind as you embark on your kitchen construction project.
Concrete Block
Generically called cinder block, this is about as old-school as it gets. Concrete block is easy to work with, once you get the hang of mixing mortar. You don't need special tools to do it: just a wheelbarrow to mix the mortar in, a garden hose, and a simple trowel to sling the mud. (And a level wouldn't hurt either, Eileen. Get it? It's a level joke. Eileen? I lean? OK, fine.) Then it's just like stacking Legos. Really heavy Legos. Here's what it looked like as I did it in my own Castro Valley, CA backyard:
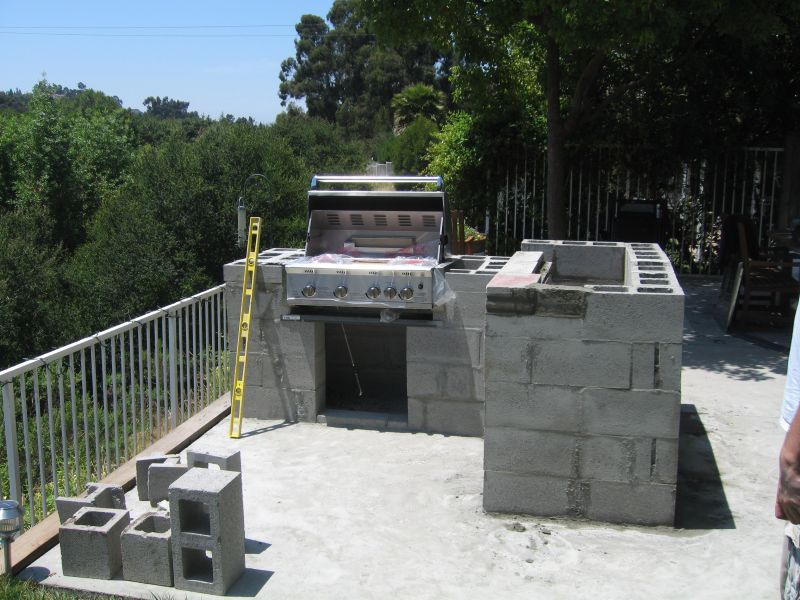
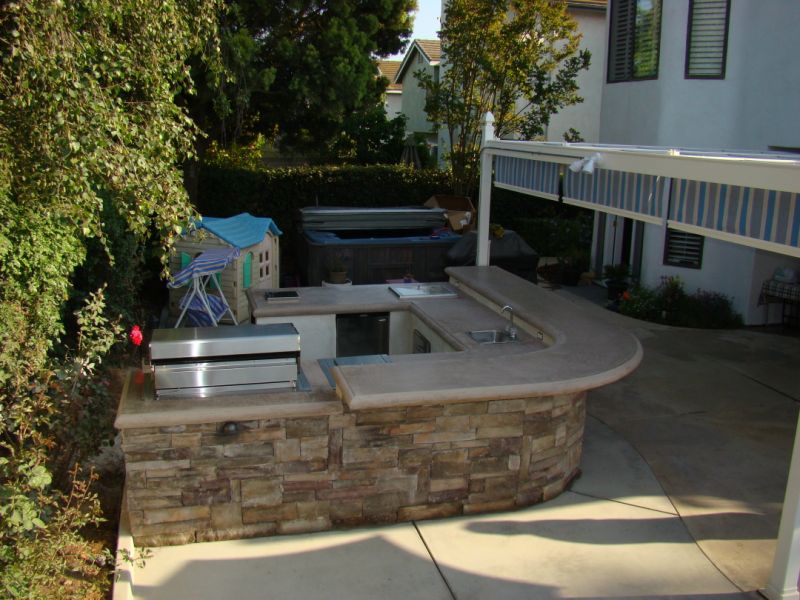
The concrete block gave me a perfectly suitable surface to clad in stone, although you could also use brick, stucco, or tile. A steel stud frame requires a layer of backerboard over it, adding another step to the process. Concrete block is considered the most durable option for framing a grill island, as it won't ever corrode or rust like steel studs might after prolonged exposure to moisture or even salty ocean air. Plus, concrete block can hold an incredible amount of weight. That's worth thinking through now, if you're mulling over something like a poured concrete countertop, like the one Phil and Lori ended up with in Moorpark, CA:
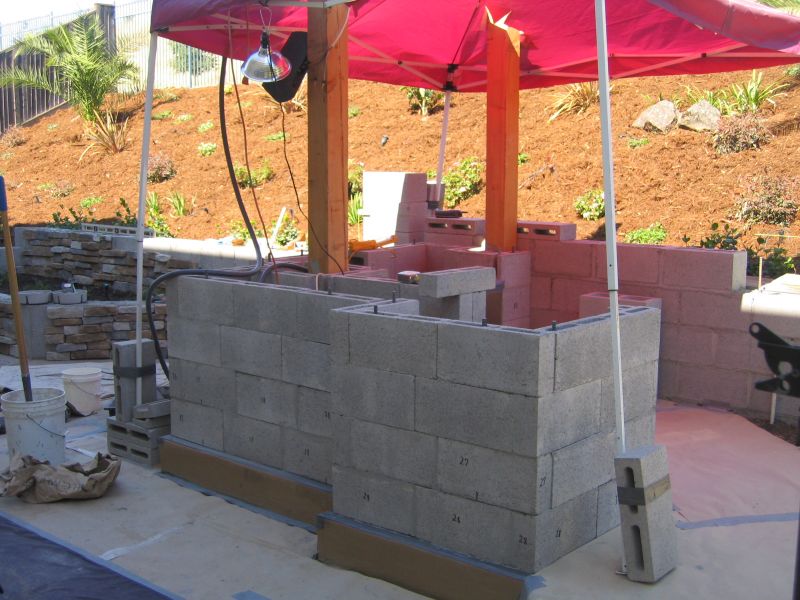
The downsides to concrete block? Yes, it's heavy. After a while, loading them up at the home improvement center, unloading them at home, moving them to the worksite, and then stacking them one on top of another all day long gets tiring (I lost 15lbs in the 30 days it took to build mine). And due to their big blocky shape, you're somewhat limited in how you can configure them. A cool S-curve island or rounded bar may be tricky to pull off using giant rectangles. But for your basic grill station full of 90-degree angles, there's nothing wrong with the classic cinder block frame, as Gehrke shows us from Dublin, CA:
Steel Studs
Metal versions of the lumber 2x4 have become increasingly popular over the years. It's estimated now that the vast majority of BBQ islands are constructed out of steel studs. They're what pragmatic used to build his Texas kitchen:
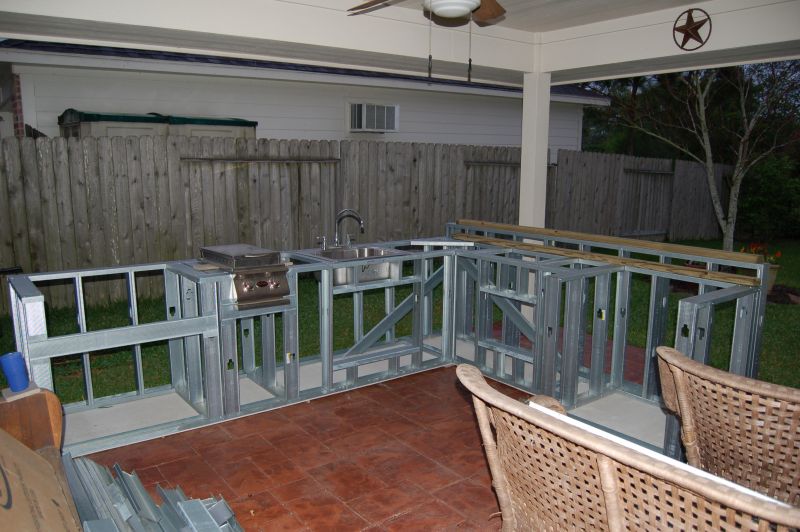
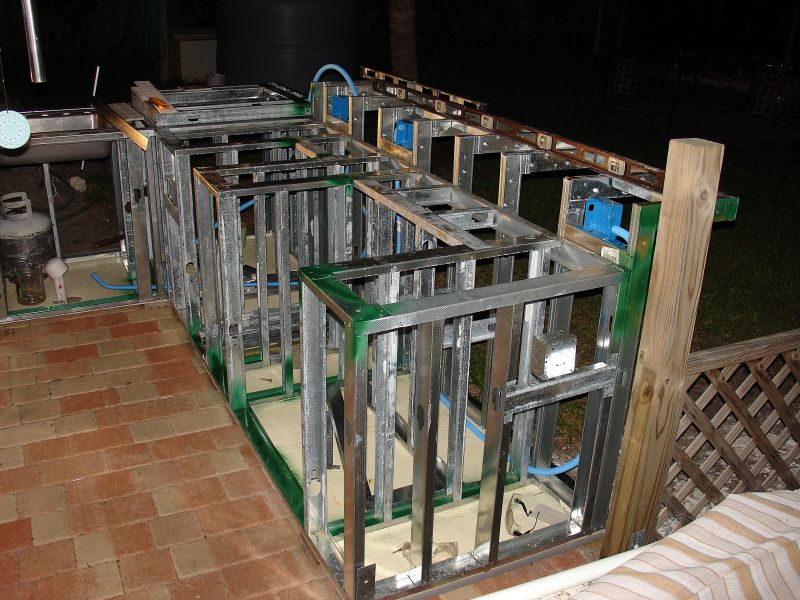
And it's easy to see why. The 25-gauge members are lightweight to work with and readily available at most building supply stores. They're cut to length easily with tin snips and fasten together with a drill and simple screws. If using cinder blocks is like building with Legos, then working with steel studs is akin to playing with a giant Erector set. JA CARL got in touch with his inner 9-year-old building his island in Deerfield Beach, FL:
Another plus to steel studs is that they leave you a maximum of room inside the island for storage. Check out the structure built by AZPaxton in the Grand Canyon State:
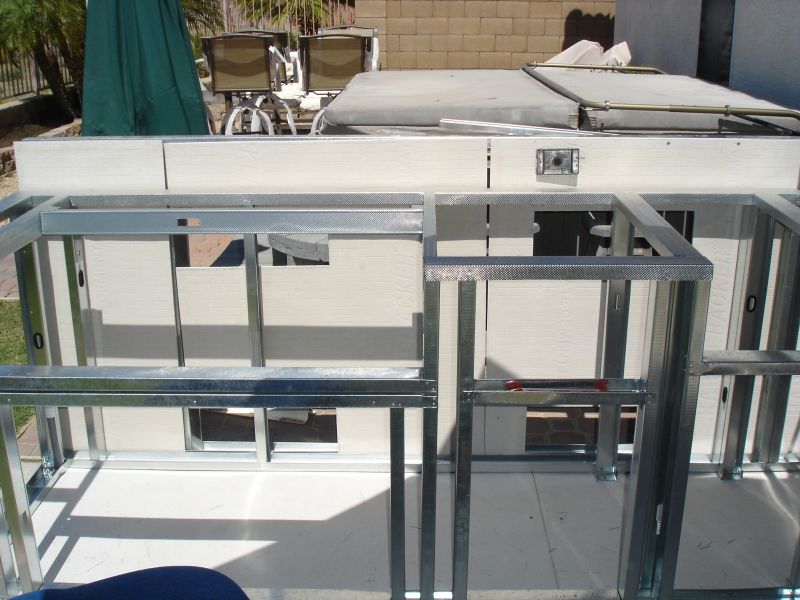
If that same island were built out of block, he would probably need to find somewhere else to stash his grilling accessories and supplies because there would be zero interior space. Steel studs also offer a lot of flexibility in the build process. Reached your limit for the day? Just put down your tools and walk away; you can always pick up where you left off tomorrow, or even next weekend. That's not often an option with block. Once you mix a batch of mortar, the clock is running: use it or lose it. But steel studs also allow you to get wild and wacky with any shape you can dream up for your grill island. Want to make little changes mid-build? Just unscrew your studs and reconfigure them to your liking. (Try doing that with a cinder block structure.) Just keep building and let your imagination go, like MCR500 did in his California landscape:
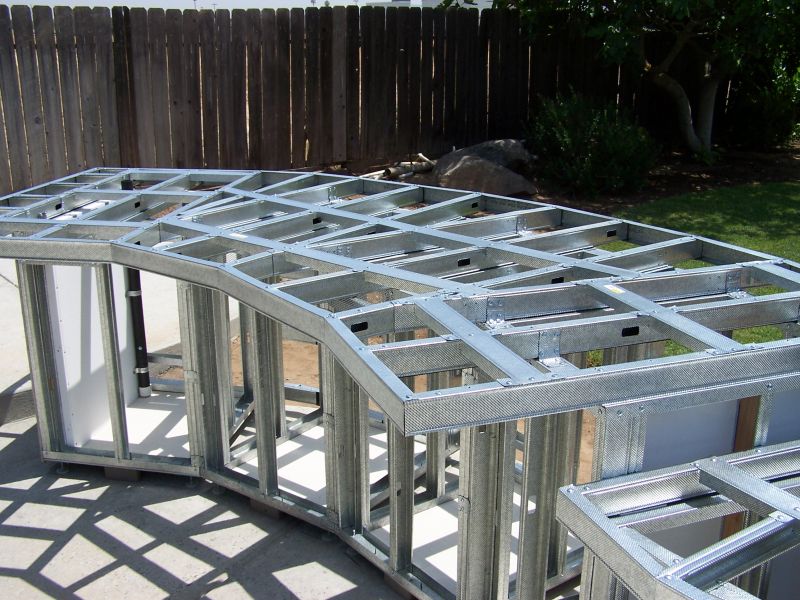
In fact, if we've fired you up to try building your own BBQ station out of steel studs, spend some time checking out MCR500's yard. He has posted over 100 pics of his award-winning project (2008 YardShare Contest Champ!) and goes into great detail about nuts-and-bolts issues like the right fasteners to use, attaching metal lath, and finishing the frame in cement backerboard.