Anatomy of a Pond
A step by step description of how to make two ponds with the smaller one cascading into a larger one.
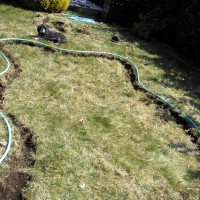
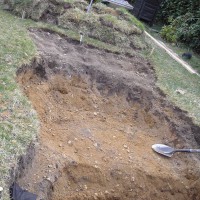
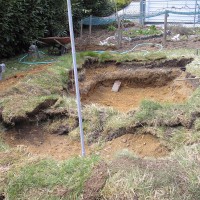
2 of 30: Bottom part slopes down by about a foot. This will help the top pond flowing down but I will have to raise the other end of the large pond.
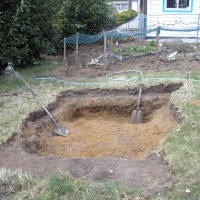
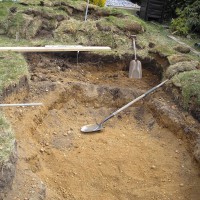
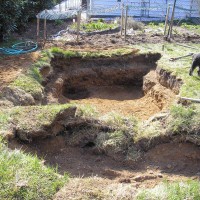
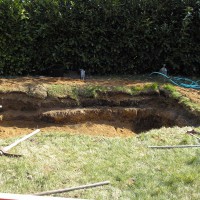
5 of 30: Bottom slants down from 2 ft at the top to 3 ft at the bottom for easier drainage. A 2x 4 board and level are used to make sure the sides are level.
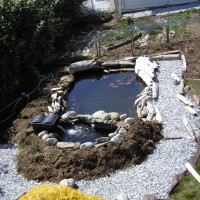
6 of 30: Sod has been piled at the top end in a circular shape to make the higher pond (5'L x 3'W x 1.5D). Bottom Pond: 1944 gals. Top: 168 gals.
8 of 30: Bottom pond has an extra 1 ft. hole at deep end for pump and easier cleaning. This would increase the liner size.
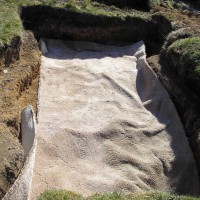
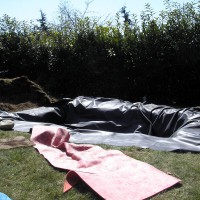
10 of 30: My old living room carpet makes a nice cushion for liner. Anything really would do that's soft but avoid newspapers or cardboard.
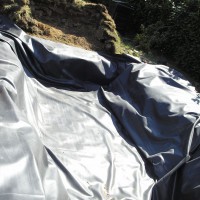
11 of 30: EPDM liner 16 X 20 ft. for an 8' X 13' X 3 hole. The added 1 foot for the pump made the liner barely overlap sufficiently at the corner.
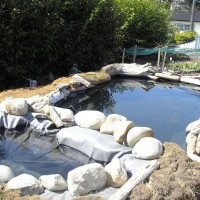
12 of 30: The heavy liner makes you lose all the graceful curves you made in the pond. Separate top liner
13 of 30: Side view of liner with about 2' overlap. I used the carpet underlay for the sides of the pond under the liner.
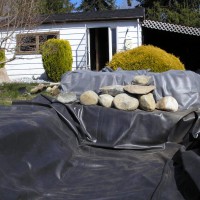
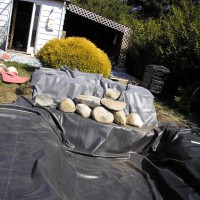
14 of 30: Both liners in place. Top liner (8'x10') overlaps the bottom one. Held in place by rocks. A nice flat rock is used just under where the water comes out.
15 of 30: A foot long fold is made in the middle front of the top liner, about 6 inches lower than the rest of the ledge so that the water may flow out.
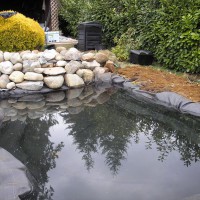
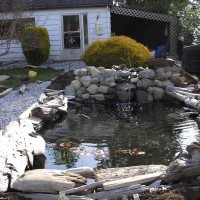
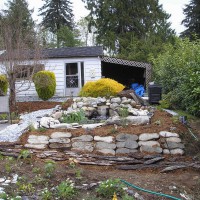
16 of 30: Rocks in Place. Ponds filled. Top Pond has a lower front edge to allow overflow into bottom pond. Sides of top pond is inverted sod (soil up)
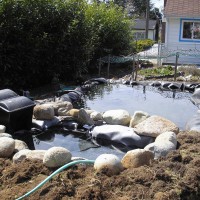
17 of 30: View from the back. Filter (Pontec BMF 3200 Pond filter...$219.98)) looks pretty ugly. Need to hide it.
18 of 30: Raised ground level on the right side to match the left side. Good place to plant ground cover or pond grass.
19 of 30: If the pond had straight lines on a level ground, the overlap wouldn't be so bulky and hard to hide.
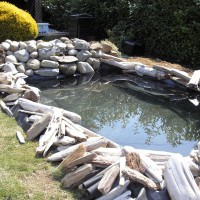
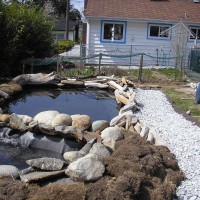
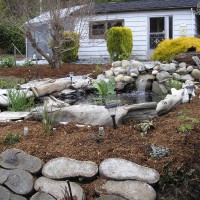
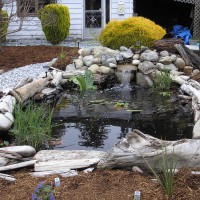
20 of 30: Driftwood from a nearby lake to hide edges. Not very elegant at the moment. I need larger pieces.
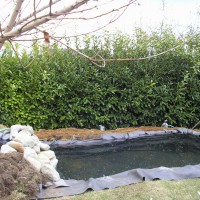
21 of 30: Top pond still needs work. Because pond needs to flow into lower pond, a lot of the liner remains exposed.
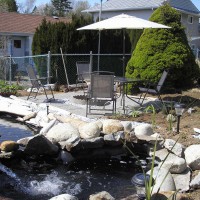
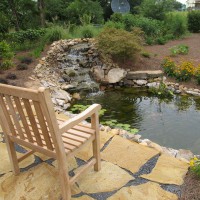
22 of 30: Stone path along one side of the pond. Low maintenance. I don't have to weed or mow along the sides. Weed fabric underneath.
24 of 30: Pump has arrived.Algreen MaxFlo Waterfall Pump ($129.98)Rated at 2,500 GPH. 20 ft hose (on inside ledge of pond) connects it to filter.
28 of 30: Front raised wall is given some extra support with a bunch of old concrete 'footsteps' I dug up from my back yard.







Comments / Questions
No comments yet.
Add Comment or Question
Login to add comments.